MT5 Auto-Sync — full setup guide
Install the Axel robot in MetaTrader 5 and sync your trades automatically. Six steps, about 15 minutes, once.
Auto-Sync MT5 is a small robot (an “Expert Advisor”) provided by Axel. It runs inside your MetaTrader 5 terminal, reads your closed trades, and sends them to your journal. It contains no trading code whatsoever: it cannot buy, sell, or move funds — it can only report trades that already happened.
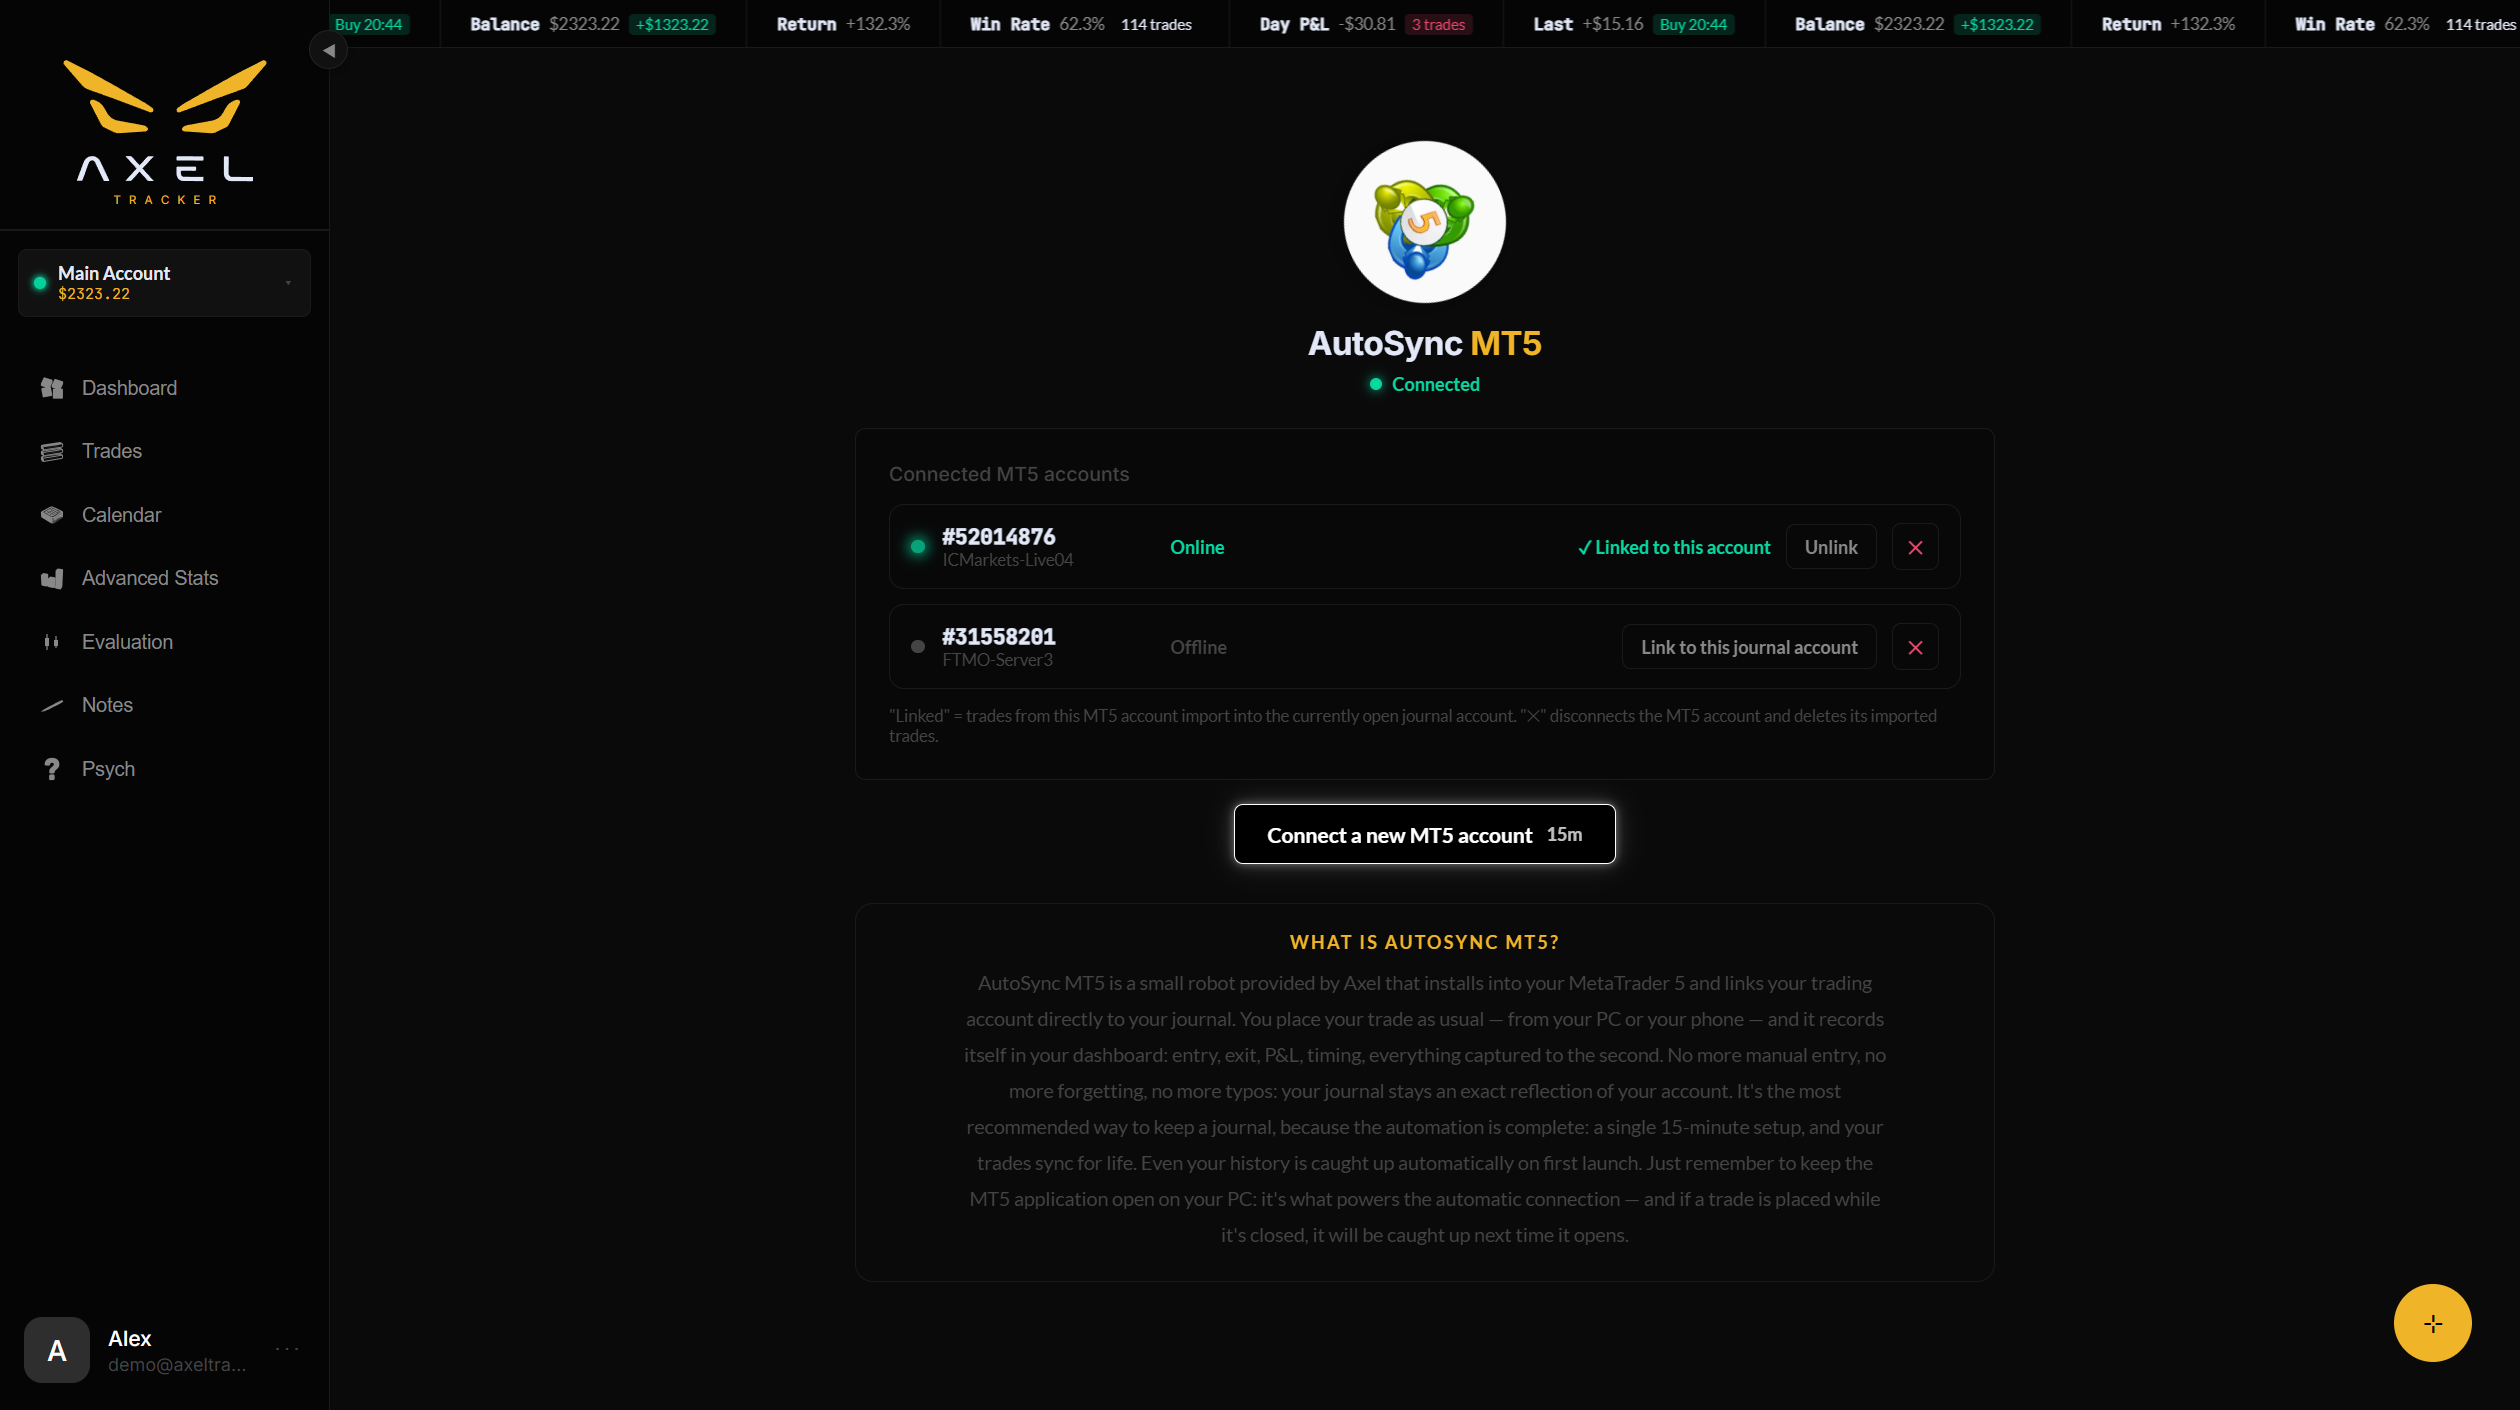
The Auto-Sync hub: connected MT5 accounts, live status, and the setup wizard.
Where to find it
Go to Trades and click the Auto-Sync MT5 button in the page header. You need to be signed in to your Axel account — the connection token is tied to it.
The 6-step wizard
Click “Connect a new MT5 account”. The wizard walks you through each step with real screenshots; here is the same path in writing:
- Download. Grab the
AxelAutoSync.ex5robot file (and MetaTrader 5 itself if you don’t have it yet — both buttons are on the first step). - Install the file. In MT5: File → Login to Trade Account (sign in with your broker credentials) · File → Open Data Folder · open
MQL5/Experts· pasteAxelAutoSync.ex5there · back in MT5, in the left Navigator panel, right-click Expert Advisors → Refresh. AxelAutoSync now appears in the list. - Allow the connection. Tools → Options (Ctrl+O) → Expert Advisors tab → tick “Allow WebRequest for listed URL” → click + and paste the address the wizard shows you → Enter, then OK. This is what authorizes the robot to send your trades to Axel — and nothing else.
- Your connection token. Click Generate my token, then Copy. This key links your MT5 to your journal. It gives no access to your money. The same token serves all your MT5 accounts (up to 3).
- Launch the robot. Open any chart (right-click a symbol in Market Watch → Chart Window) · double-click AxelAutoSync in the Navigator (drag-and-drop often misses — double-click is reliable) · in the Inputs tab, paste your token into “Token AutoSync” · in the Common tab, tick “Allow Algo Trading” → OK · make sure the “Algo Trading” button in the top toolbar is green (click it if it’s red). Within about a minute, the status indicator at the top of the Axel page turns green.
- Link the account. Your MT5 account number appears in the list. Select it and click Confirm and activate. From now on, its trades import into the journal account you are currently viewing — and only into that one.
Importing your past trades (“History days”)
In step 5, the robot’s Inputs tab has a History days field: how far back the robot reaches on its first run. 30 = the last month, 300 = almost a year. Set a value that covers your whole trading history if you want everything imported. There is no duplicate risk — the robot never imports the same trade twice.
The four classic pitfalls
- Algo Trading turns red again. MetaTrader disables algo trading every time you switch accounts inside the terminal. If the toolbar button is red, click it — the robot resumes instantly.
- Drag-and-drop misses. Attaching the robot by dragging it onto the chart fails silently quite often. Double-click it instead.
- “Do you really want to attach…?” If another robot was already on the chart, MT5 asks for confirmation — answer Yes.
- MT5 is closed. The robot only talks while your MT5 terminal is running. Nothing is ever lost though: trades placed while it was closed are caught up automatically the next time it opens.