Customize your dashboard layout
Enter edit mode, drag bubbles around, add or remove widgets, pin achievement badges and photos, reset.
Entering edit mode
Open the ⊹ quick panel (bottom-right) → “Edit layout”. The bubbles start trembling — you are in edit mode, on the Dashboard.
What you can do in edit mode
- Drag a bubble to move it. Neighbors slide out of the way; the grid uses vertical gravity, so freed space is reclaimed from below.
- Remove a widget with its ✕ — it goes back to the library, nothing is lost.
- + Add a widget — opens the library of every widget not currently displayed, each with a thumbnail preview. Click one to add it.
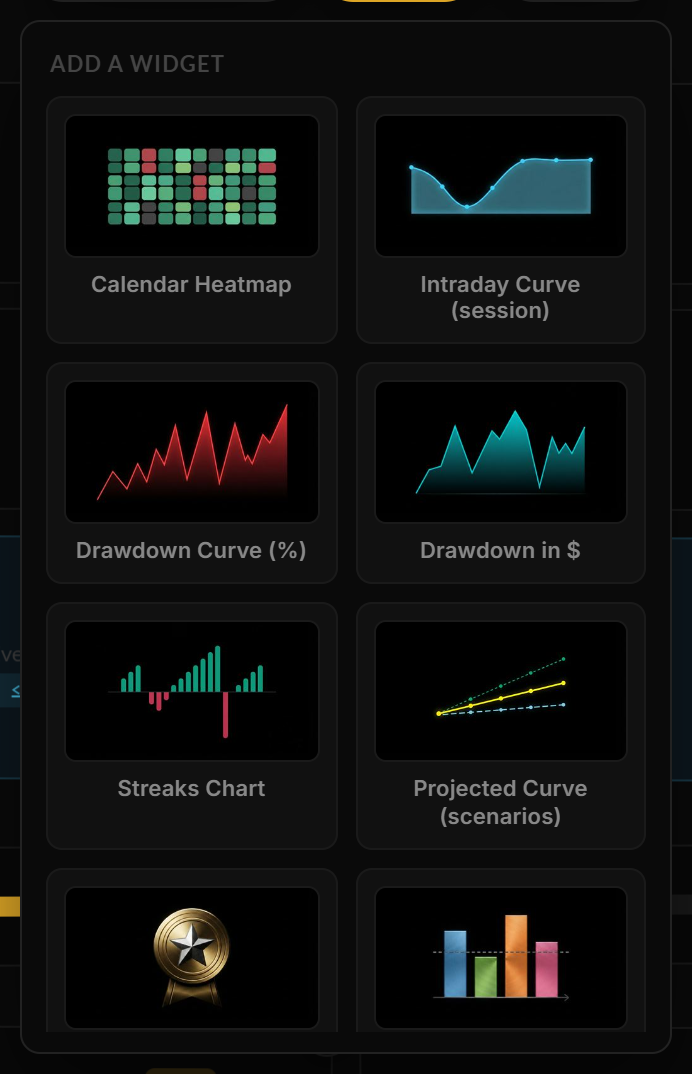 The widget library, with a thumbnail per widget.
 - ↺ Reset — restores the default layout. This clears added widgets, pinned badges and photo widgets (Axel asks for confirmation first).
- ✓ Done — exits edit mode and saves. Navigating to another page also exits edit mode automatically.
Two special widgets
- Achievement badges — choosing “Achievement” in the library sends you to your trophy wall to pick which unlocked badge to pin. Each badge is its own bubble, movable and removable independently. Up to 3.
- Photos — each photo widget holds one image of yours (imported from the widget itself) with three size options. Up to 3. Your photos are stored locally in your browser.
Per-account layouts
The layout belongs to the account: your prop-firm account and your personal account can have completely different dashboards. Switching accounts switches the layout, theme and background together.
Your saved styles (⊹ panel → “My styles”) can capture a whole look — accent, widget style, font — and re-apply it in one click. See Saved styles.
Still stuck? Contact support — or send feedback from the app: profile menu → Settings → Feedback.